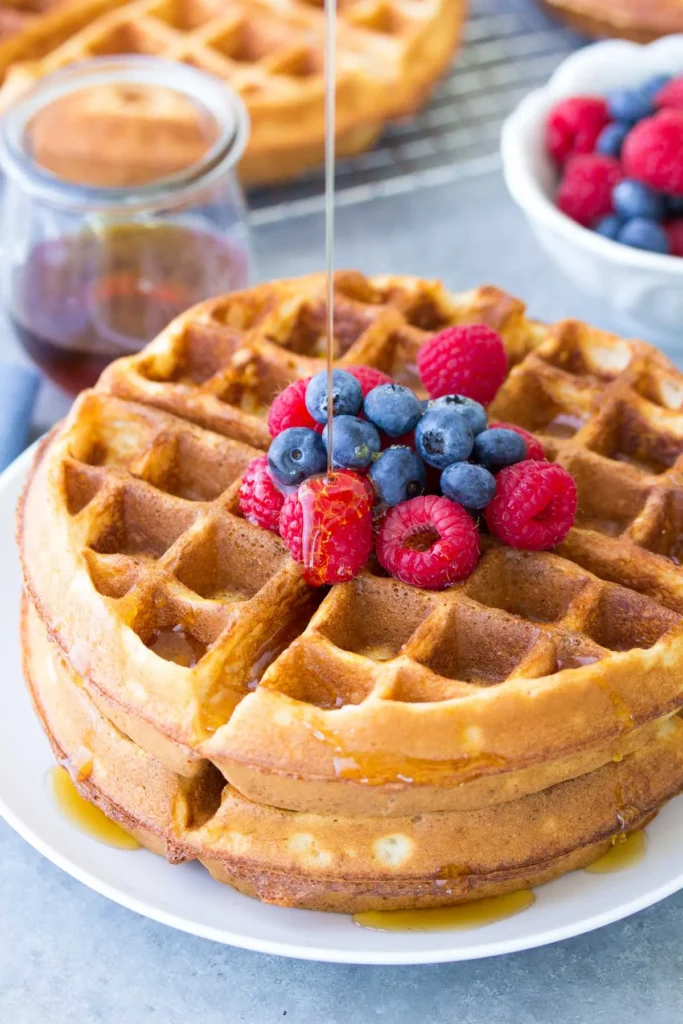
Waffles occupy that funny space between “breakfast treat” and “dessert disguised as breakfast.” Store-bought frozen waffles do the job in a pinch, but once you’ve had real homemade waffles — crispy edges, soft insides, that toasty aroma filling your kitchen — you start to understand why people buy waffle irons in the first place.
This version leans classic: not too sweet, golden, and sturdy enough to hold a puddle of maple syrup (or, if you’re like me, way too much peanut butter). Vegan-friendly, easy to tweak, and just the right amount of indulgent.
🎯 QUICK FACTS
- Prep Time: 10 minutes
- Cook Time: 15 minutes (depends on your waffle maker)
- Total Time: ~25 minutes
- Servings: 4 large waffles (or 6 smaller)
- Difficulty: Simple, but a little messy
📝 INGREDIENTS
- 2 cups all-purpose flour
- 2 tablespoons sugar
- 1 tablespoon baking powder
- ½ teaspoon salt
- 1 ¾ cups unsweetened plant milk (oat milk gives the best body)
- ⅓ cup neutral oil (canola or sunflower) or melted vegan butter
- 1 teaspoon vanilla extract
Optional extras: pinch of cinnamon, zest of half an orange, or a handful of chocolate chips if you’re in that mood.
👩🍳 HOW TO MAKE IT
Step 1. Heat your waffle iron.
Get it hot so the batter hits and sizzles right away. If yours tends to stick, give it a quick spritz of oil.
Step 2. Mix dry ingredients.
In a large bowl, whisk flour, sugar, baking powder, and salt.
Step 3. Mix wet ingredients.
In another bowl (or directly into a big measuring cup), whisk plant milk, oil, and vanilla.
Step 4. Combine.
Pour the wet into the dry and stir just until mixed. A few lumps are totally fine — overmixing leads to tough waffles.
Step 5. Cook.
Ladle batter into your waffle iron (don’t overfill, or you’ll be scraping batter off the counter). Close the lid and cook until golden brown and crisp — usually 4–5 minutes, depending on your machine.
Step 6. Serve.
Stack ‘em high, drown in maple syrup, top with fruit, or go rogue with Nutella or fried “chicken” (vegan or otherwise).
📊 NOTES & NUANCE
- Waffles are basically pancakes with ambition. The higher fat content is what gives them that crispy exterior.
- If your waffles keep coming out soft, try reducing the plant milk slightly or adding a spoonful more oil.
- Pro tip: Place cooked waffles on a wire rack (not a plate) while you finish the batch. Otherwise, steam makes the bottoms soggy.
❓ FREQUENTLY ASKED
“Can I make the batter ahead?”
Sort of. It’ll hold for a few hours in the fridge, but the baking powder loses oomph over time. Fresh is best.
“What’s the best waffle maker?”
Honestly, whatever you have. Belgian-style irons make deep, fluffy waffles; thinner irons make crispier ones. Both are great.
“Can I freeze them?”
Yes — and they reheat beautifully in the toaster. Make a double batch and you’ve got homemade “Eggo” waffles for the week.
🌟 VARIATIONS
- Blueberry Waffles: Fold in 1 cup fresh or frozen berries.
- Cinnamon Sugar Waffles: Sprinkle with cinnamon sugar straight out of the iron.
- Savory Waffles: Skip the sugar, add herbs and shredded vegan cheese.
🍽 STORAGE & REHEATING
- Fridge: 2–3 days in a sealed container.
- Freezer: Up to 2 months. Layer with parchment so they don’t stick.
- Reheat: Toaster or oven — never microwave unless you like sad waffles.
✨ Waffles don’t need to be perfect; they just need to be crispy on the outside, soft on the inside, and absolutely drowning in something delicious. Make these once, and you may start looking for excuses to “accidentally” buy a waffle iron upgrade.